Now we bring you two versions of a homemade digital thermometer with ICL7106 that I
recently built. One version uses a LED display, the second version LCD display.
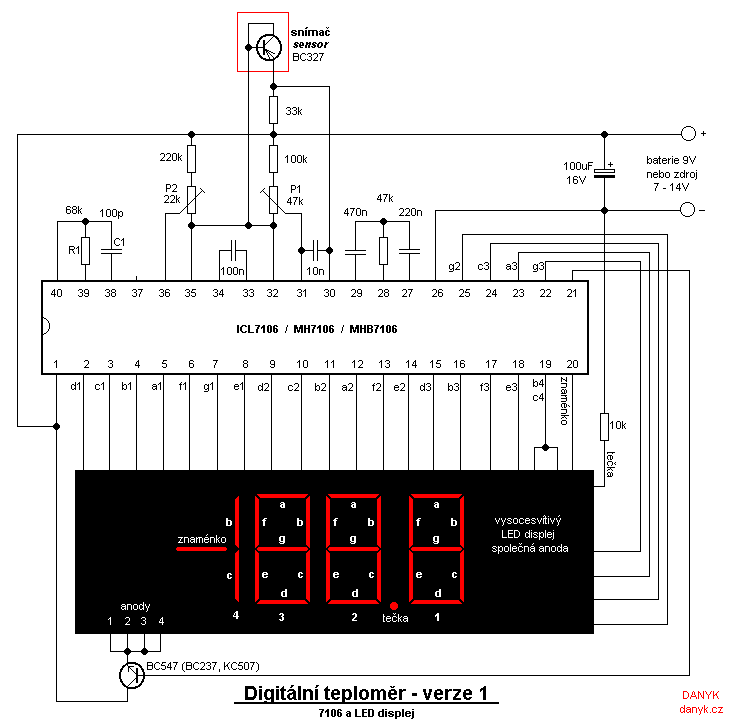
In both versions, is used silicon transistor as a temperature sensor. The temperature is determined by the
voltage drop, temperature dependence is approximately -2.2 mV / °C. Power can be either a 9V battery or a suitable power supply.
Oscillator with R1 and C1 determines the sampling frequency - using 100k and 100p the frequency is 3 Hz. Theoretical
temperature range is from -199.9 to 199.9 °C, the real temperature range is limited by the measuring transistor to approximately
-65.0 To 150.0 °C. Resolution to 0.1 °C. If you want to use it as a room thermometer, it is not necessary to use the hundreds digit, (left)
or minus sign. Also digit right from the decimal point may be omitted if 1 °C resolution is sufficient.
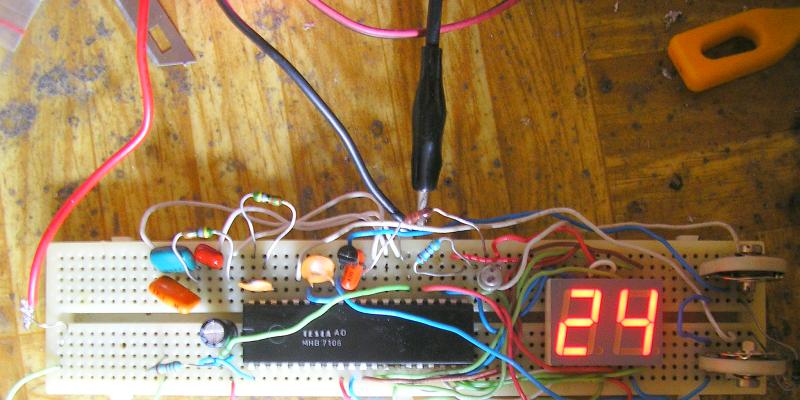
A simple room thermometer thus requires only two-digit display, as on photo below.
LED version
LED version is usually constructed with the circuit ICL7107, which has a higher output current, but this circuit requires symmetrical stabilized power supply.
Advantage of 7106 is a simple power supply without stabilization. The problem is solved by a low curren (1 mA) superbright display.
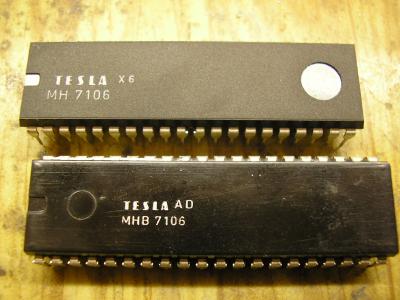
7106 is also easier to salvage from something (like digital multimetr) than 7107. I will not discuss the 7107 here.
Info on both those integrated circuits can be found in their
datasheet.
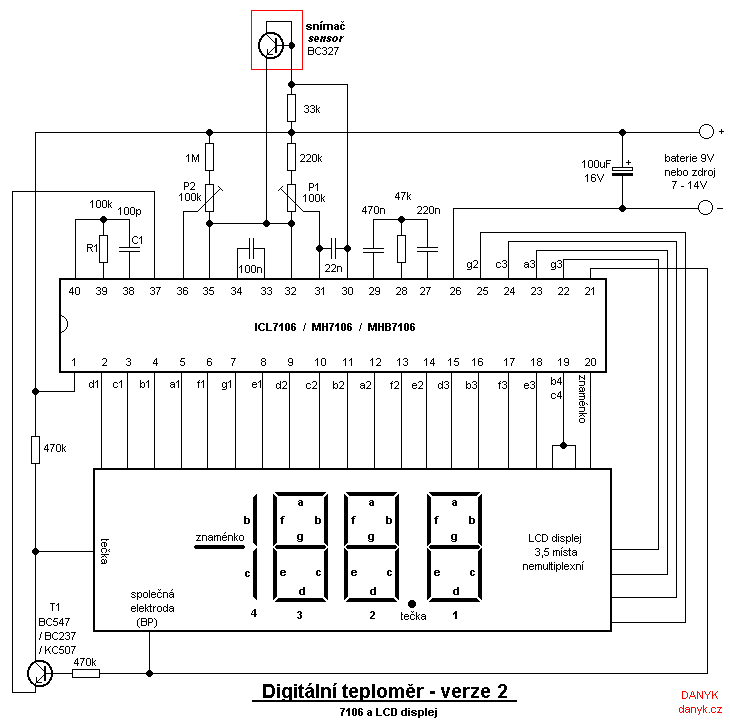
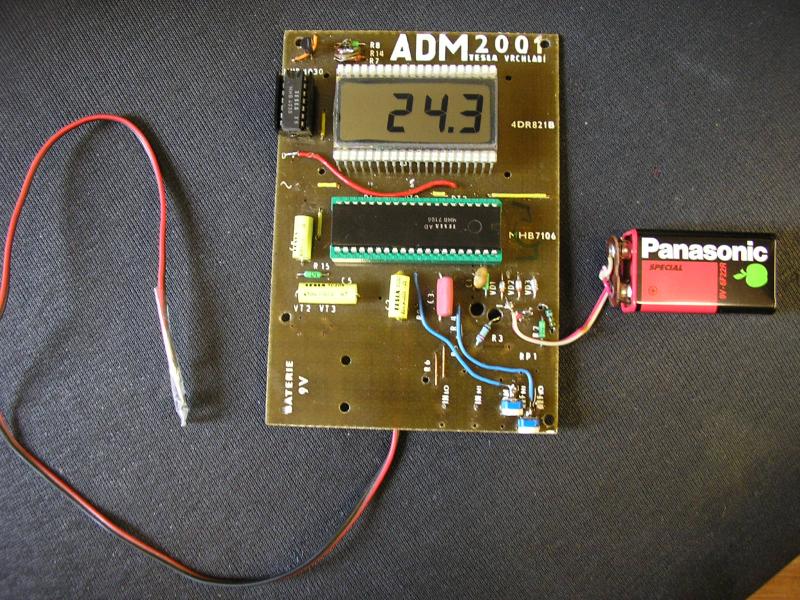
LCD version
Here, the circuit 7106 is connected in the usual way. LCD is driven by AC 60Hz signal. At all outputs
for display and the common electrode terminal have a rectangle 60Hz waveform. Outputs for the segments that are not to be displayed,
have a voltage in phase with a common electrode. Outputs for segments that are displayed, are out of phase.
T1 is used as an inverter for the decimal point. Thermometer with LCD is also possible to make
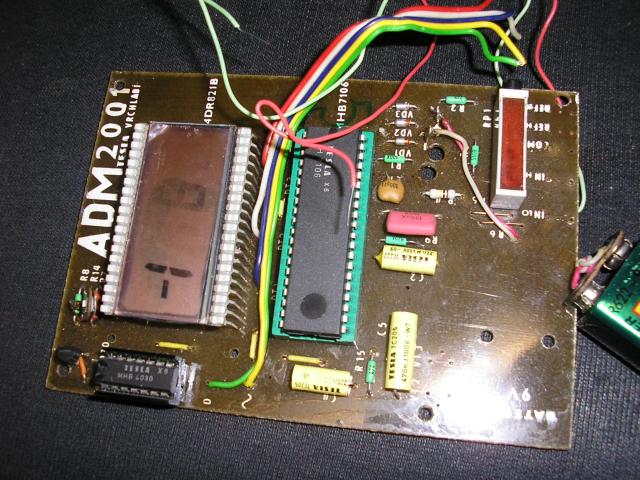
by rebuilding cheap or old digital multimeter (most of them used circuit ICL7106 or some equivalent ...7106).
Current consumption is less than 1 mA, therefore it is suitable for battery power.
Calibration
The thermometer must be calibrated. Calibration is performed using the trimmer P1 and P2 in two steps.
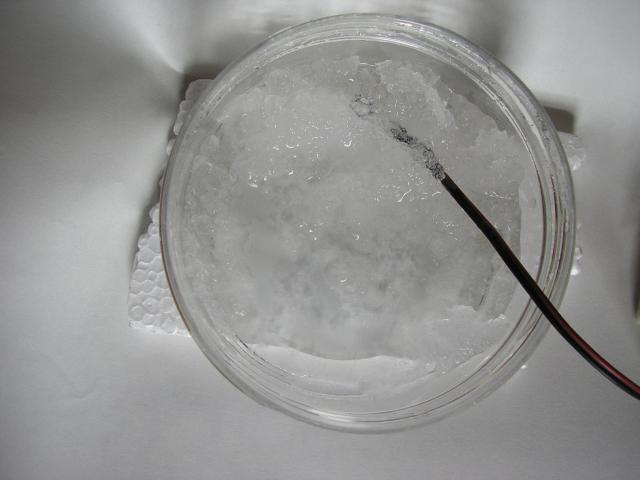
The first step is to set the zero using crushed ice (the ice and water mix). Set P2 approximately in the center. Probe (Transistor)
Place in a waterproof container and dip into
crushed ice (ice pieces in water). After stabilizing the set P1 and to display 00.0 °C.
In the second step P2 is set according to a known temperature, preferably in boiling water at 100 °C.
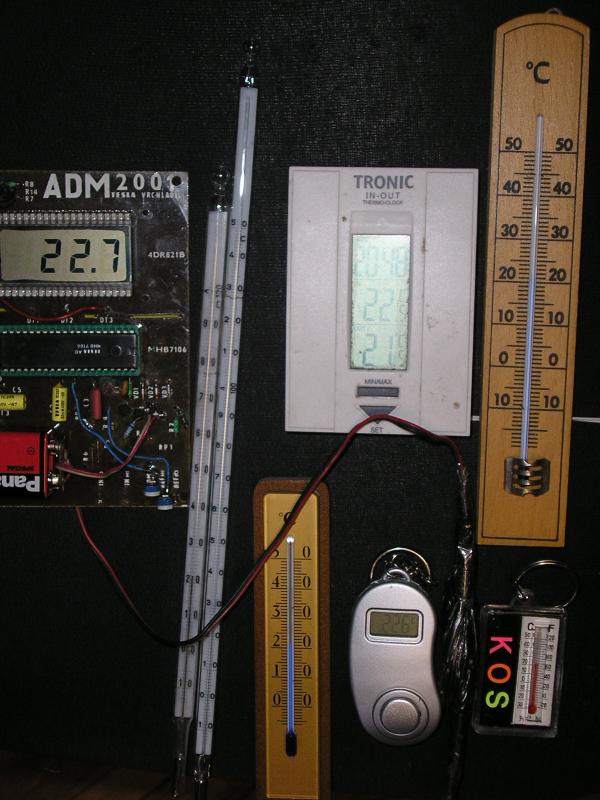
Alternatively the P2 setting can be made according to another thermometer at room temperature. For accurate setting you can use multiturn
trimmers.
