Fluoroscopic X-rays II.
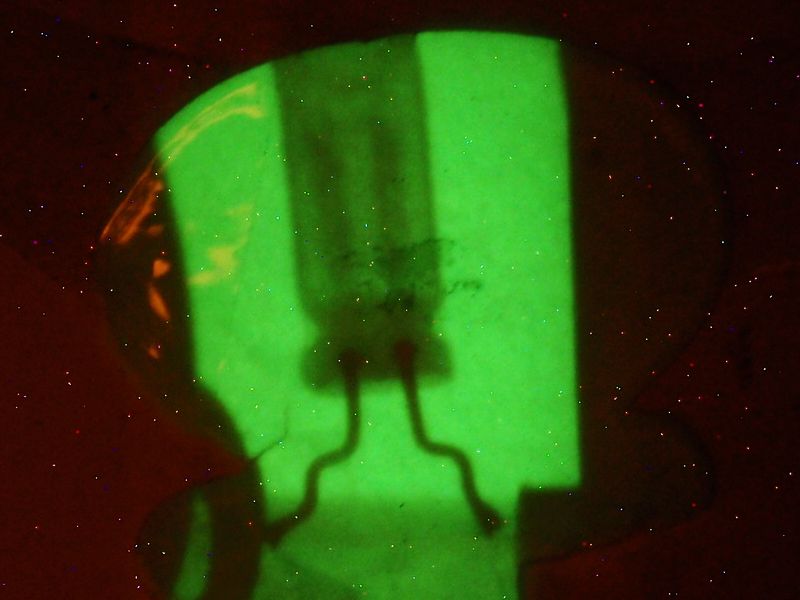
Now I managed to do one more set of fluoroskopic images on the same principle as in
previous article, but in a better quality.
Again, I use tube 6VS-1 known from previous articles and
sticker shining in the darkness (teletubbies:)).
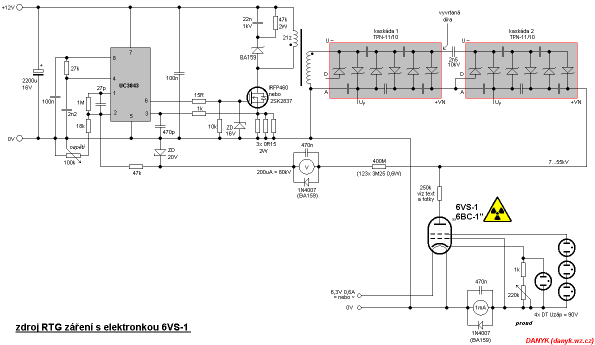
Power supply (stabilized switched HV) is similar as before except for minor adjustments. Homemade multiplier I replaced with
two cascades of TV. I also use my radiometer
RBGT-62a,
to estimate the intensity of radiation (video below).
Measurement is performed at a voltage of 30kV and current 400uA from a distance of 2m and then 3m. At a distance of 2m it is not able to measure (more than 100mR / h)
and at a distance of about 3m shows 40mR / h.
The actual radiation level is many times higher due to low sensitivity of GM tube to X-ray.
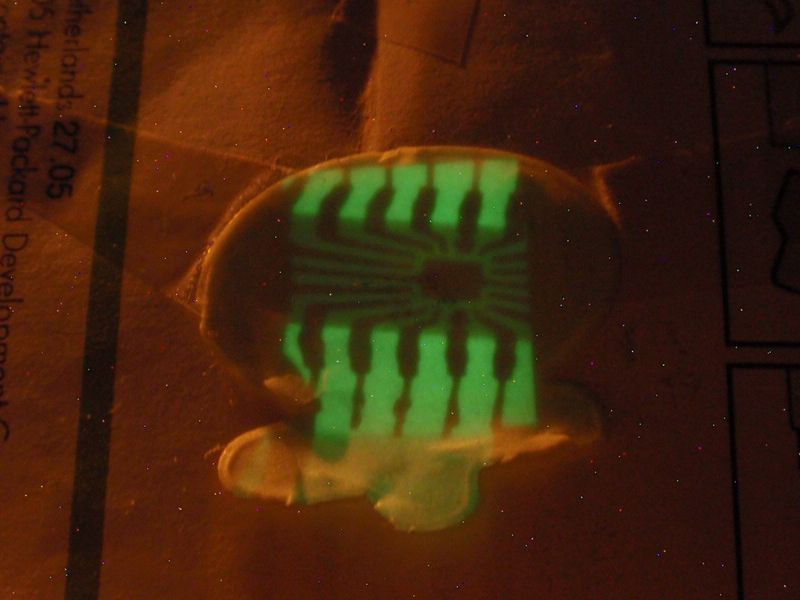
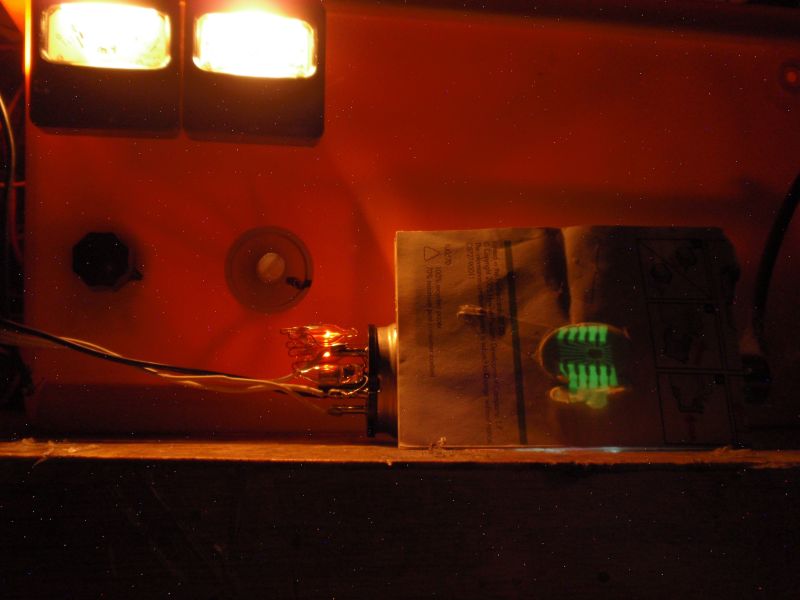
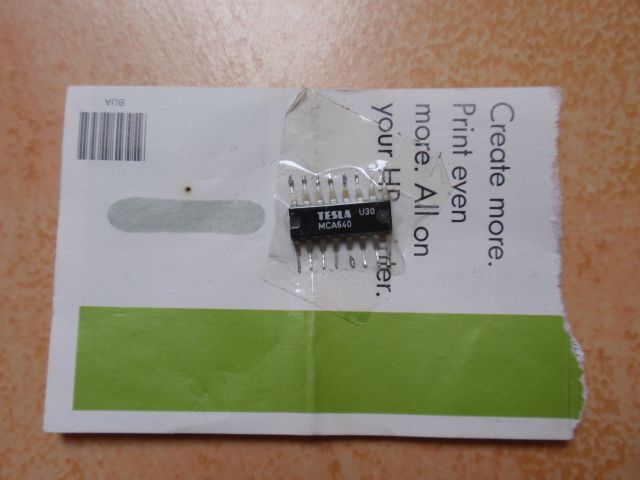
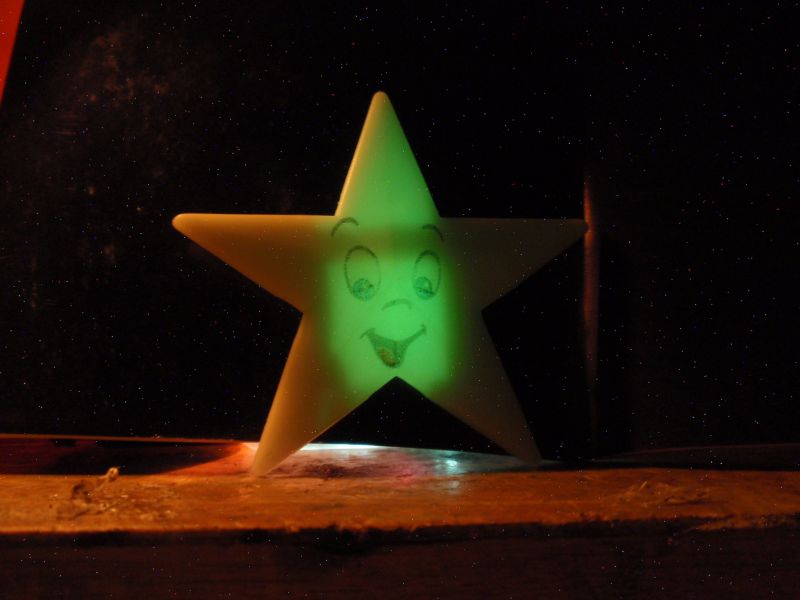
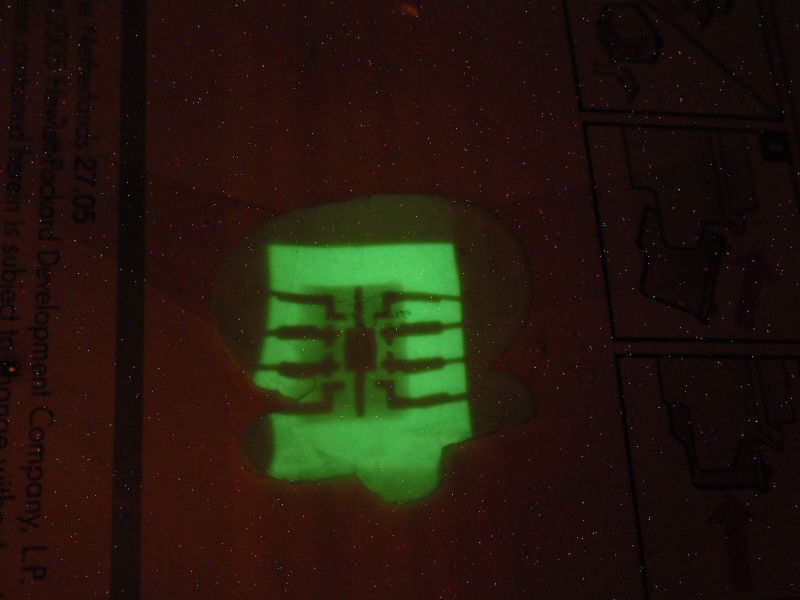
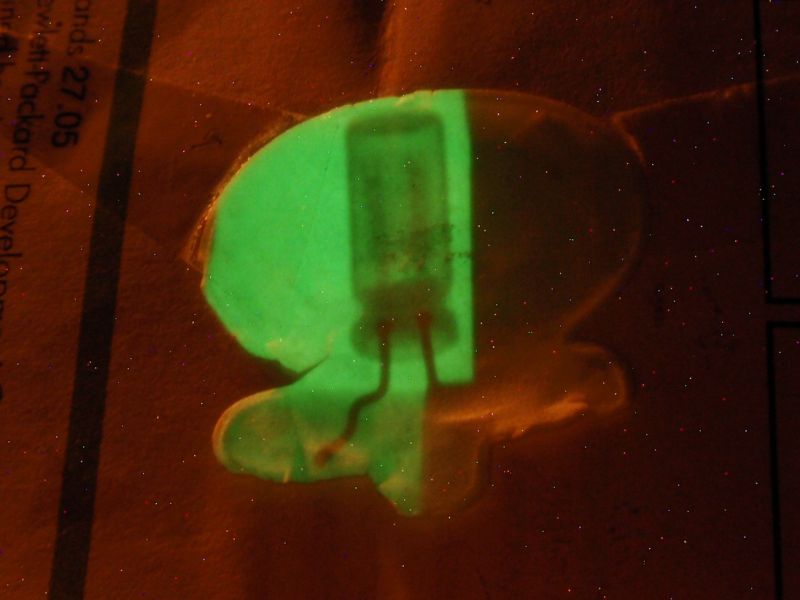
For the screening of small objects I am using the luminescent stickers, I set the voltage to
40kV and current 200uA. Sticker is exposed to radiation about 1000R / h (10Sv / h). The camera has shutter set to 4s. It can be seen that
stickers sensitivity to X-ray radiation is low. I am switching x-rays on using cable remote control.
WARNING!
This site doesn't serve as a guide! it is just a curiosity, not intended for reproduction.
For this reason, I don't describe all safety precautions here. X-ray radiation is very dangerous ionizing radiation.
Passes more or less through all materials, it cannot be completely shield. Exposure can cause cancer, leukemia, radiation sickness,
tumours and other fatal diseases and infertility or mutation of offspring. The device operates with a very high voltage. Do not try this in any case !
If you, despite warnings, decided to implement it, I do not take any responsibility for your damage - everything you do at your own risk.
